One of my favorite parts of the summer is preparing items for my classroom. Last summer, I spent a lot of time creating, buying, and making classroom essentials for my HOLLYWOOD theme. I loved my theme. However, I wanted to switch things up for the new school year.
While spending countless hours on TeachersPayTeachers, I decided on a new classroom theme. I’m going to have a NAUTICAL theme. I love everything about the ocean and beach, but I didn’t want to see a “Beach” theme all year. Although, I don’t mind looking at cute anchors, lighthouses, and sailboats.
The first thing I needed to do was find a new alphabet. My previous alphabet was red and black polkadot, and it was not going to match 100%. I looked for my perfect nautical alphabet, but I had no such luck. There are several nautical alphabets that I could have used, but I always found something about each one I didn’t like. I was tired of looking, so I decided to create my own!
I have several programs that I could have used to make my alphabet. However, I ended up creating it using the familiar program…PowerPoint! Do not ever underestimate the possibilities of PowerPoint. It is simple and gets the job done.
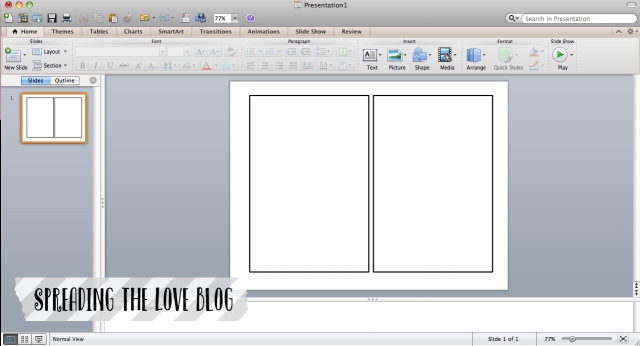
To create my alphabet, I deleted all of the text boxes. I used a blank slide to begin my creation. I wanted a mini poster alphabet, so I created two posters per slide. I used the shape tool to draw two rectangles. You can use the “format shape” option to create a frame or background for your posters.
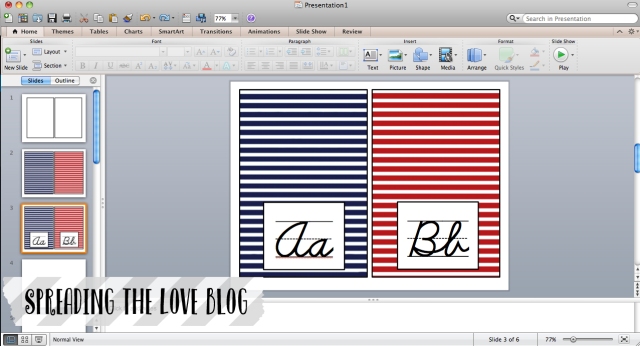
I knew I wanted a navy and red alphabet, so I browsed through my files until I found the perfect background. (I bought a digital file pack previously, and it included several electronic patterned papers, so I used those. I’m sure there are free patters that you can download for personal use only.)
To add the electronic paper to the image, you click “Format Shape.” Then, there is an option called “Fill,” this is where you can decide if you want to add a solid color, texture, or image. Simply upload the image from your computer.
Next, I added the cursive letters. I downloaded this awesome free font called, SchoolScriptDashed by Donna Young. You can find the link HERE. I added a text box and typed in the capital and lowercase form of each letter.
After adding the cursive letters, I needed to add a place for a corresponding picture. I used the “Insert Shape” and drew a circle. Select “Format Shape” to customized it to your needs. I made a white circle with a black outline.
Next, I wanted to add an extra nautical detail to my alphabet. (This step was my personal preference.) I found free nautical rope frames in navy and red. I downloaded them from ClipartsCo. Click HERE for a direct link to their website. I added the frame by selecting the “Insert Picture” option. I adjusted the size to fit inside of my white circle.
Then, I wanted to add a cute banner on the top to match my theme. I was going to make my own, but that requires a lot of time. I was working “smarter” not “harder.” One of my favorite places to buy clip art is Etsy. I bought a set of nautical banners for $3 from ValerianeDigital. Click HERE for a link to her shop. Simply download the file of your choice and click “Insert Picture.” {Make sure the image you select is a .PNG file. If it is not, your image is going to have an unwanted white background color!}
I chose two borders to alternate with each poster.
Finally, I added clip art for each letter. I found all of my clip art from MyCuteGraphics. The clip art is 100% original and FREE! Click HERE for a link to their site.
The best part about PowerPoint is you can copy and paste slides as needed. Once your first slide is created, the only thing you have to change is the letters and clip art. Then, you can print and laminate your alphabet.
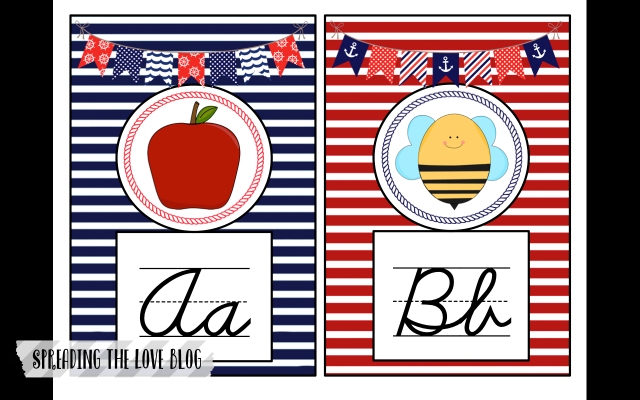
Here is a larger picture of my final product.
If you have any questions, I would love to help!


This is awesome!! I have been looking everywhere for the perfect alphabet posters, with no luck….I’m picky! :-) Thank you so much for this!!!
You’re welcome!! I’m glad I could help. :)